Saturday, February 29, 2020

Editing Blog: Adding Titles

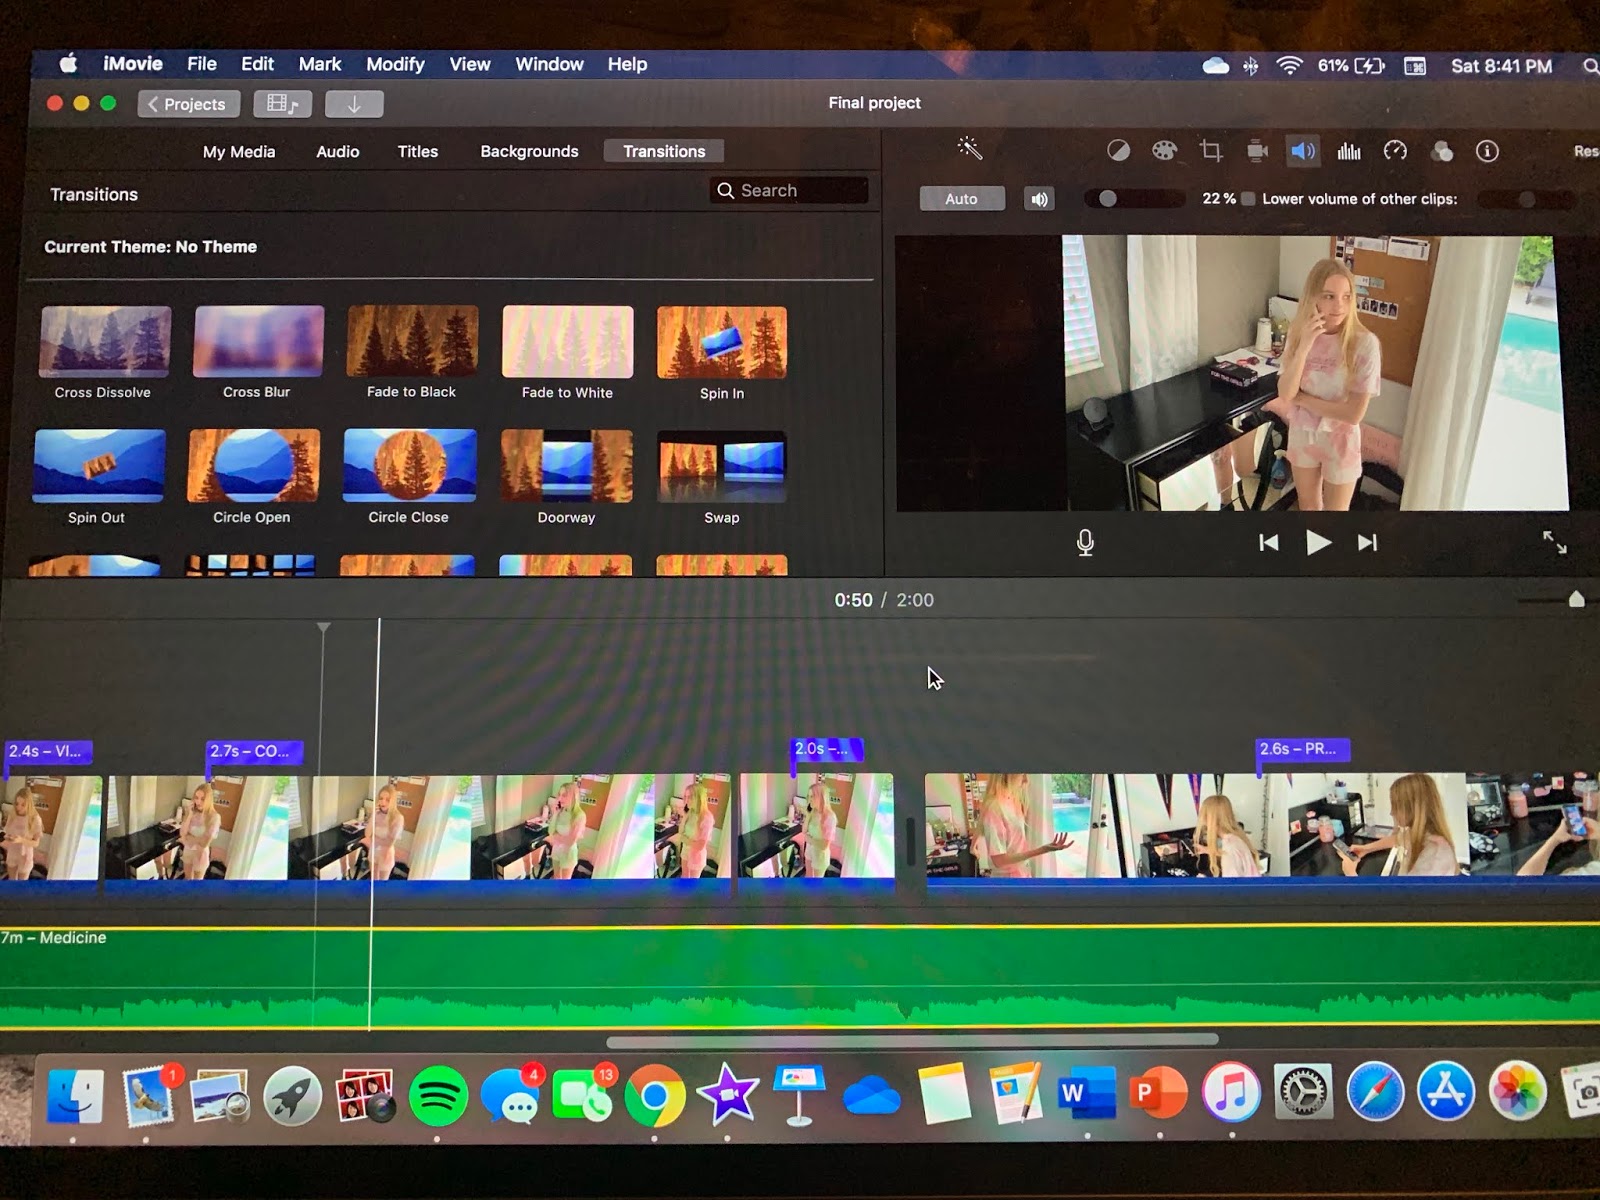
One of the final tasks of the editing step is adding in the final titles. For an opening clip of a movie, they give credits. One thing I've learned is that the titles always have a certain order. And that we had to upkeep this order with a few details. We also realized the coloring and placement of the titles is very important. For example, we made the color of our titles a darker red. To not only keep up with the theme of the film and a "color scheme" but also that you could read it. For placement, however, we knew that all smaller titles should be lower on the screen so that you could see what's happening in the film. Although things like the studio name, the title of the movie, and the director could be placed more in the center for the auidence to read it clearly.
In previous, we mentioned that our titles have the same font, and remain in for 2.5 seconds. Adding the titles wasn't a difficult process. However, making sure you pay attention to detail is important. Like how far spread out the titles appear. Along with adding the titles at the correct time so that you can read them clearly against what the background is. Adding the titles in order and when to add them and for how long it was a learning experience. For example, we had to consider when it was correct timing to place the big title of our movie. We took into account our transitions as well. Like if we wanted to separate our titles in between transitions. And if the placement allows it to be read and on there long enough.

Editing Blog: Adding transitions

On our next step of editing, we added our transitions. Some of our transitions would include blackouts jump cuts and fade-ins. These transitions add to our film by adding suspense. For example, the blackout allows suspense at the end and shows a change of scene. In our film, we use the blackout to change the scene from when our scenes took place at night and then it turned into a day. We used this as a placement for it being the next day. In the end, we used a blackout to create suspense. This is the "ending" of our film and we want the audience to keep watching and be into it. We think these techniques will be useful to engage the auidence. These transitions can be used in two different situations and create a range of effects on the auidence.
Another transition we used was jumpcuts. Most of our transitions were jumpcuts for two reasons. It was a smooth transition and made it look like two separately filmed scenes are the same. Or there wasn't another appropriate transition that wouldn't be "confusing". Jumpcuts are useful for when your scenes are transitioning, but you don't want it to look as if they're different. Another transition we used was cross blur. This transition blends two scenes into each other. This adds the effect of fading away, but quickly and having a blur. This transition was useful for when we wanted to make a clear switch between the two clips. Transitions are useful and needed in a film to show switches between clips and to add suspense and keep the auidence engaged.

Thursday, February 27, 2020

Editing Blog: The First Few Scenes

We have started the editing process. First off we dumped the footage and imported it into iMovie. First, we imported all of the scenes that we had and then carefully chose the correct ones. Things that factored into that would be. Lighting like as in does it randomly switch, and how the lighting is transitioned through the scenes when it's supposed to be constant.  Also things like where the titles will go and if they will be visible enough on the screen. We as a group decided to start editing in titles by the of our editing. Another thing would be the acting. Considering if we can cut the scene or if we need to reshoot/ choose another. These things we're thought-about on whether or not we were going to import that scene into iMovie. 
After we imported our first few scenes we started looking at uncopyrighted music. Previous to this we looked into what songs we could use, but now we're considering ones that go along with the theme of the film. Another thing we did to add was to use transitions. Considering however that the few first scenes we got to film are not in order. This didn't allow us to use the transitions we already planned. But instead, we used temporary jumpcuts to work them together. At the end of editing, we had time to plan and consider what scenes we need to film next time. As well as how they need to look to make sure it looks like the same day. For example, the furniture and the outfits to make sure the next time we go to edit it looks the same. Our first editing was successful because we set up the base on how we are going to edit our film as well as know what we need to film the next time. 

Filming Blog: Night Scenes

Along with our film, we needed to shoot some scenes at night. We only needed one scene complete at night. We scheduled a later filming time and once we started we knew our plan. Our lighting got dimmer, but we decided to start filming before it was pitch black outside. For our lighting in the room, we just used the overlight lighting I have which lit up the whole room dimly. Since we only needed one proper scene our timing wasn't too long. Our scene happens to be the first scene of our movie. We were aware that this has to be an attention grabber and it's what makes the story interesting. Since it's going to be the viewer's first impression we want them to be engaged from the start. We knew that filming the scene would have to be taken seriously, and we took multiple takes to make sure it was what we liked.
Along with us filming the first scene, we relooked our other footage. We wanted to make sure that everything was done up to this point and that we liked it. Our filming matches up to our storyboard because the scenes line up. Meaning everything that happens in our storyboard happens in our film in the same order. Along with us filming we had our storyboards laid out to make sure we kept the same ideas. Having the storyboard made it easier to film since we already knew the angles we wanted and what we need to act out. Filming at night was interesting however because we all had different ideas about how the story would play out. A big factor is how much time we have left due to the fact that we filmed every other scene first. Meaning we knew we didn't have a minute for dialogue and more like 30 seconds in reality. This was one of the better problems to have while filming.

Filming Blog: Day Scenes


In our film, we have two different times. In our day scenes, we filmed, the characters waking up and being confused as well as our final scene. Our day time scenes take up most of our film, with all the "clues" happening then. For our angles, we have eye-level shots that we got by sitting on a desk chair that changes hight. For our high angle scenes, we achieved this by getting on the top bunk of my bunk bed. This worked well because we got an overview of my whole room with room to pan the camera over and follow our character walking. Including our health and safety, nothing was hanging over and was secure at the top. Panning shots also were able to be achieved by moving in the chair to follow the character. And self-explanatory the over the shoulder shots at a high angle was done by just having the camera above the main character's shoulder. These shots were easy to have done, due to the resources. 
Considering most of our film took place during the day we had to really focus and film while we had light. We chose to film after school one day which made the lighting time in a big window. However, we got really nice shots during the four o'clock hour because the lighting was warm and it wasn't too cloudy out. The lighting was really important to us due to the times we could film and if it changes in between scenes. During the day shots to we needed to use fake blood. This was interesting because it represents the unknown mark that shows up on her hand the morning after. This was store-bought fake blood that we just moved around with a q-tip. But I think the effect came out really well. It was noticeable and clear. Our day filming came together really well and we completed it. 

Thursday, February 20, 2020

Filming Blog: The First Day

Prior to filming our first scenes, we planned what we could film. Some things that factored into what we could film would be the lighting, what props we had available. We have scenes that take place during the sunset with warm lighting so during that time we got a few scenes done. We took multiple shots of each scene and put them into the editor. Our filming clips lasted around 15 seconds and we finalized them. Along with planning using our storyboard, we correlated that with the props we had and of course the lighting. With our filming, we mainly focused on the final parts of our film. Meaning the last scene we planned, and the final two scenes we had the props for. Filming our last scene was a little weird because we had to think about the outfits we're in and how it'll match up. However, we think we planned our costumes and our location is staying constant. Also, we saw that the angles we planned can be done correctly.
  One of the scenes we filmed would be when the best friend is looking at pictures of the two of them. To prepare for this Tekla and I sent each other pictures for her to swipe through. We adapted this because originally we were going to use physical photos but due to the number of videos included we decided to make it digital. I think this change wasn't too noticeable considering the ideas still the same. I think this will add emphasis to her missing her friend. Another scene we filmed was the last scene where there's a blackout. This scene was fairly easy to film considering it was just a loud knock on the door and looking scared then it turns to a blackout. Our filming time was productive because we did start filming a few scenes we could plan what we're filming next, but also how we are going to film. I think it also helps that we have a constant location and have one room so all of the furniture can stay the same so the film flows.

Thursday, February 13, 2020

Planning Blog: Storyboard

Storyboarding is drawing out your ideas. A short description with a detailed photo. This allows you to have an idea of what your filming when you start. This lets your ideas come onto paper and organize your thoughts. The more detailed the story is the better you have an understanding of whats going on. Scene by scene you plan what you'll be filming and what it will look like. Storyboarding is very useful and important to allow the filming stage to go smoothly. Since you have a background and a main visual of what you want to follow along. Our storyboard goes seconds by seconds and shows the emotions of the characters. With the descriptions explaining whats happening, the constant lighting, and camera angles and what type of shot.

Monday, February 10, 2020

Planning Blog:Titles

Now that we have an outline of our plans we can focus on our titles. Titles are important because they give credit. They are in the beginning two minutes and let the audience know things like the leading actors and directors. Titles can have a variety of styles. Along with how they get on the screen and how long. This adds to the creativity of our project. Because not only are we coming up with our own original ideas, but we get to have control of how it looks. As well as show our editing skills we've learned. Adding the titles with transitions will be using text and motion. We were also able to decide on corresponding colors to our theme but also visible when in the scene.

Sunday, February 9, 2020

Planning Blog: Location, Health, Schedule

We will be giving an outline of our project. This will include our schedule and where we are filming. This part was relatively easy because we choose to film during the week due to our mostly open schedule. We also chose to all film at one house to make the location constant. For furthermore we aren't really doing stunts or gory film things so not many health concerns are involved. Our filming being in one location will allow the audience to get familiar with the setting. As well as having everything we need all in one house. For our participants, we don't really need extras. Our project is the focus of two girls. On how they react to an unfortunate situation they caused. 

Thursday, February 6, 2020

Planning Blog Sound and Dialogue

In this script, we will be explaining the sounds of our project. This will explain our project but only in sound. Some would include dialogue and diegetic sounds. This script allows us to plan the dialogue for both characters. As well as what sound we need to consider. Things like background music and non-diegetic sounds need to be thought of and in place before filming. These will require permission or need other items to create the effect of the sound. Sound can add a lot to the scene and create a dramatic effect. This will enhance our scenes. And will help "blend" them together.

Planning Blog Shooting Script

For our shooting script, we explain many things. One will be what camera angles we use. What type of shots we plan to get. A basic outline of the lighting. And movements.  We list in bullet points about what angle or shot will be. And continue it into what it will move into or be edited into. One thing kept constant was the lighting. However, we are still working on character names so those are working in place. Our script gives the basics of what we want to shoot and how it'll look.